
Why Beating the Freeze Means More Than Cracking Ice at Dawn
When a hard UK cold snap settles over the farm, a frozen trough quickly becomes more than an inconvenience. Livestock still need dependable access to clean drinking water, yet the nearest supply may be across exposed pasture, behind a locked gate, or several hundred metres from the yard. The result can be an exhausting round of carting bowsers, carrying buckets and attacking ice with a sledgehammer before the morning jobs have properly begun. Even then, a cracked bowl or burst fitting may leave the field without water for days.
Domestic plumbing advice often assumes that pipes are inside a heated building, protected from wind and checked several times a day. Outdoor farm systems face a different combination of risks: frozen ground, upland exposure, vehicle loading, cattle rubbing, rodents and long, rarely inspected pipe runs. Frozen water expands, placing pressure on fittings and joints as well as the pipe itself. The sensible approach is to protect animal welfare and the water supply together, while preventing a small frozen section from becoming an expensive repair. Before the ground freezes solid, inspect the whole installation, improve the vulnerable points and make sure the system has a reliable way to empty itself.
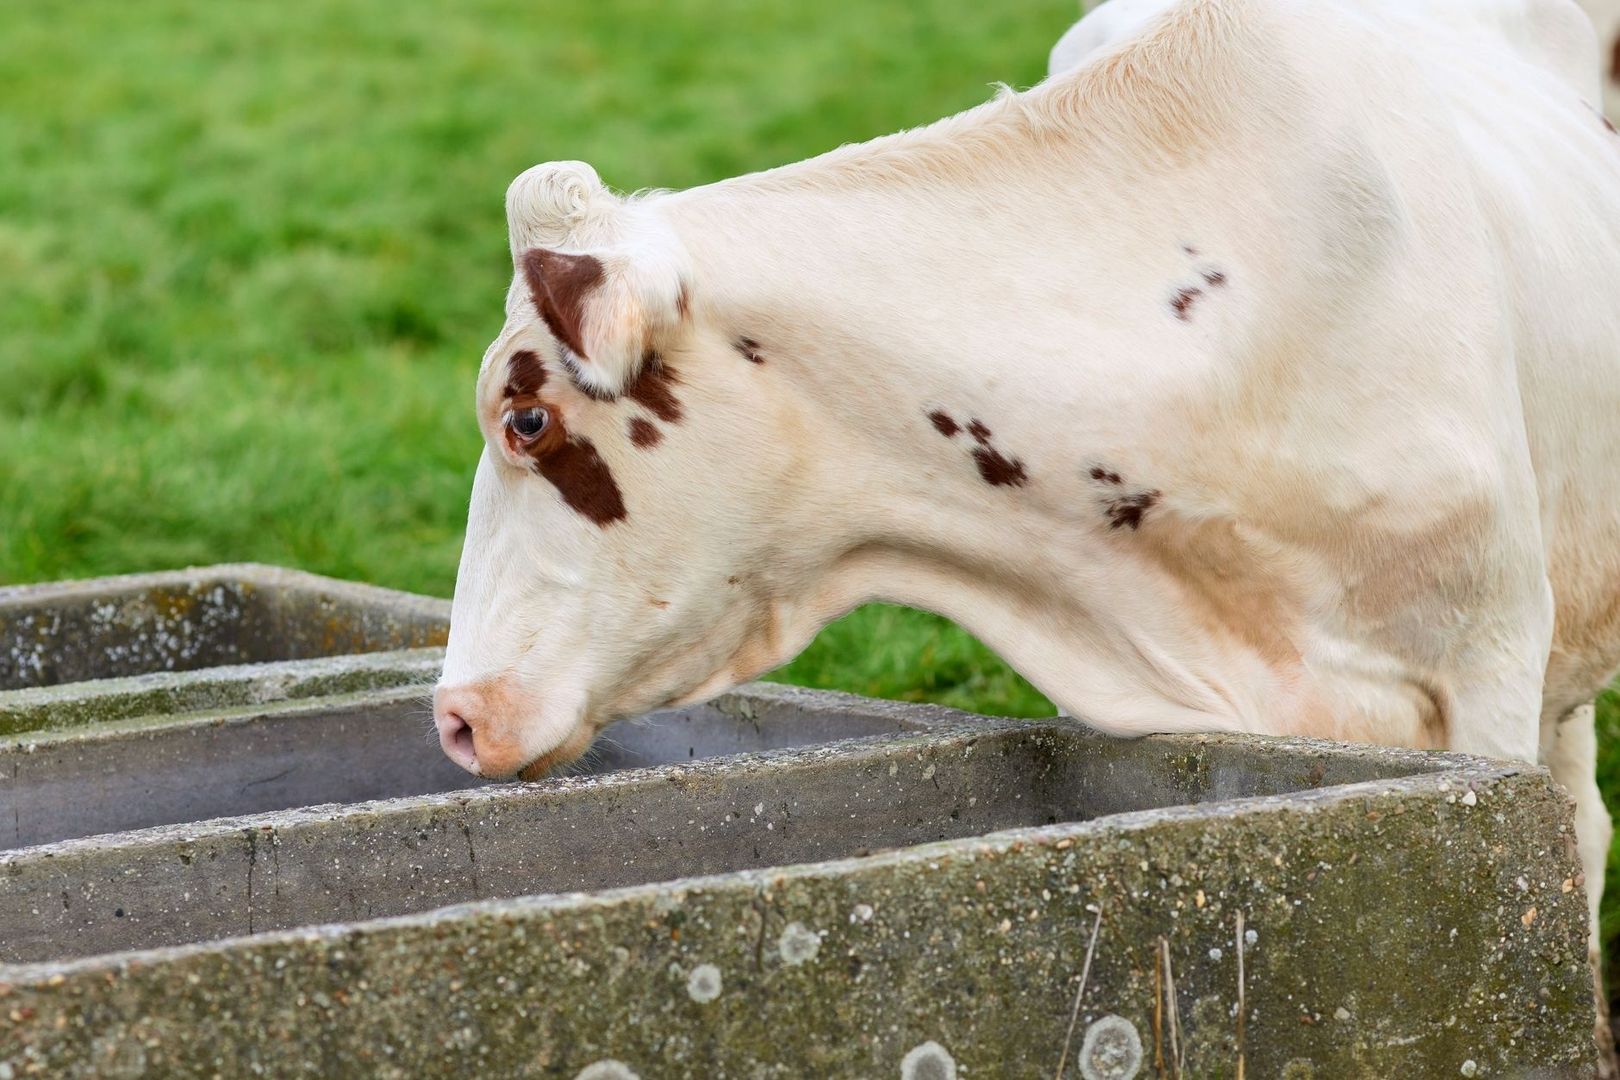
Getting Below the Frost Line with Proper Sub-Surface Trenching
Burial depth is the first line of defence. For MDPE water pipe, 750mm of cover below finished ground is widely used as the minimum in gardens, footpaths and soft landscaping. It should be treated as a starting point rather than a universal answer for farms. Beneath livestock tracks, gateways, farm roads and driveways, 900mm or more is generally appropriate because the pipe must withstand both frost and repeated surface loading. Exposed upland ground, shallow soils over rock and wind-scoured sites may justify a deeper route or additional protection. Local water-company requirements and the conditions of the installation should always be checked before work begins.
A well-dug trench is not enough if the pipe is laid directly on sharp stones. Use a bed of pea gravel or stone-free sand, then surround the MDPE with the same type of fine, protective material before placing excavated soil above it. Frozen soil can move as it expands and contracts, while flint, broken stone and construction rubble may create concentrated pressure points. A smooth granular surround reduces the chance of puncture and helps prevent damage during backfilling. Pressure-test the run before the trench is finally closed, and keep joints to a minimum, particularly in areas that will be difficult to excavate again.
Install detectable blue warning or marker tape roughly 300mm above the supply pipe. This gives a future operator a useful warning before a spade, post-hole auger or digger bucket reaches the line. It is especially valuable where ditches are cleared, tracks are resurfaced or fields are reconfigured. Underground service guidance also stresses that existing apparatus may not follow modern positioning conventions, so accurate as-built records and visible markers are worthwhile additions to the physical protection.
| Location or ground condition | Practical approach |
|---|---|
| Soft pasture and landscaped ground | Use at least 750mm cover, with suitable granular bedding and surround. |
| Livestock tracks, gateways and driveways | Use about 900mm or more where practical, allowing for vehicle and livestock loading. |
| Exposed upland or shallow stony ground | Consider greater depth, insulation, ducting or an alternative protected route. |
| Road crossings and regularly trafficked areas | Use deeper cover and assess whether ducting or a protective slab is needed. |
| Any future excavation zone | Fit marker tape above the pipe and retain an accurate route plan. |
Depth also needs to be considered alongside the movement of water and soil. A sloping site may require air-release points, while a low point can become a place where water remains trapped after the supply is isolated. Understanding how ground structure, thermal insulation and sub-surface freezing dynamics vary across managed land is critical when planning pipe routes; scientific research on agricultural soil frost depth and cold-region freezing dynamics demonstrates how variable frost penetration can be across open fields, showing why local conditions should not be treated as identical across a whole holding.
Armouring the Risers Against Freezing Air and Hungry Stock
The most vulnerable part of many trough installations is not the buried horizontal run but the short transition where the pipe rises from the ground and enters the trough base. This section is exposed to cold air, wind and splash water. It is also exactly where cattle, sheep, horses and machinery can apply force. A pipe may be safely below the frost line for most of its length but still freeze solid at the final 300mm above ground.
Use closed-cell elastomeric insulation, such as Armaflex, or a suitable phenolic foam system with a properly specified wall thickness. Cheap open-cell DIY foam can absorb moisture, collapse under pressure and offer little protection once wet. Insulation must be continuous around the riser, with joints sealed against wind and water. The underside of a galvanised steel or concrete trough deserves attention too, because cold air can circulate beneath the bowl and chill the inlet fitting from below. Insulate that area without narrowing the drinking opening or creating an edge that animals can pull loose.
Insulation alone is not enough in a busy livestock field. Enclose the finished riser in heavy-gauge twinwall ducting or a robust steel sleeve, leaving adequate room for inspection and allowing the pipe to be supported without being crushed. The outer protection should resist cattle rubbing, curious noses, rodents and accidental contact with a loader or quad bike. Avoid creating a sealed void that traps water around the pipe, and make sure the sleeve can be removed when a valve or compression fitting needs servicing.
- Choose closed-cell insulation with a suitable thickness for the expected exposure, rather than relying on thin household foam.
- Seal insulation joints and protect them from rain, UV light and mechanical damage.
- Use a rigid duct or steel sleeve where stock can rub, lean or push against the riser.
- Insulate beneath troughs while keeping the bowl, float and drinking area accessible for cleaning.
- Check that rodent access is restricted without blocking inspection points or drain outlets.
General frozen-pipe guidance confirms that both plastic and copper pipe can suffer when temperatures fall below freezing, and that exposed sections should be insulated rather than left to chance. Some online technical references may first display a Checking your browser prompt, but the underlying principle remains the same: remove cold air from the pipe surface and prevent the freezing point from becoming the weakest link.
Installing Automatic Drain-Down Valves on Remote Pipe Runs
Insulation slows heat loss, but it does not remove the water that is already standing in an exposed riser. An automatic drain-down valve provides a second layer of protection by allowing water to escape when pressure falls or when a temperature-sensitive mechanism detects freezing conditions. Pressure-operated valves used in irrigation systems, for example, may begin draining when line pressure drops below approximately 5 PSI. Temperature-activated outdoor valves are another option where the design is suitable for livestock waterers and the local climate.
Place the drain point at the lowest practical part of the vulnerable assembly, normally beneath or immediately beside the trough riser. Discharged water must have somewhere to go. A gravel soakaway pit beneath the outlet can prevent muddy puddles, icing around the trough and repeated saturation of the foundation. Do not direct the discharge towards a watercourse, spring, borehole, track or neighbouring land. The installation must also be arranged so that dirty surface water cannot flow back into the drinking supply.
That last point matters under the Farming Rules for Water. These rules require land managers to reduce the risk of manure, sediment and other pollutants entering inland and coastal waters. A drain-down arrangement should therefore use suitable non-return protection, maintain an air gap where required and keep the outlet separate from contaminated runoff. Ensuring that livestock have uninterrupted access to clean drinking points while preventing contamination and stagnant backflow is also a core statutory requirement detailed in Defra”s Code of Practice for the Welfare of Cattle.
- Isolate the supply at a quarter-turn shut-off valve, release pressure and drain the existing trough assembly.
- Identify the lowest point on the exposed section and confirm that the proposed outlet can discharge into a clean, free-draining gravel soakaway.
- Fit the automatic drain valve using compatible fittings, thread sealant and pipe supports suited to the pressure and pipe material.
- Install or check the non-return valve so discharged or contaminated water cannot travel back towards the source.
- Reopen the supply slowly, inspect every joint and test the valve by reducing line pressure or following the manufacturer”s temperature-test procedure.
- Record the valve location, service arrangement and inspection date on the farm water plan.
Do not assume every automatic valve behaves in the same way. Some drain only after a pressure drop, while others are designed to open at a specified temperature. Confirm the operating range, flow rate and compatibility with the trough”s float valve. A badly calibrated inline shut-off may leave pressure trapped in the riser, defeating the entire drain-down system.
Ball Valves, Service Boxes, and Passive Water Movement
Float valves and ball valves are easily overlooked because they sit inside the trough or just below its cover. Brass and plastic float arms can stiffen, crack or become buried in ice, while an unprotected valve box can fill with windblown debris and frozen water. Enclose the mechanism in a robust, insulated service box that stock cannot reach. The box should remain accessible for adjustment and cleaning, but its lid should be secure enough to withstand pressure from curious animals.
Gravity-fed systems without electricity may benefit from carefully planned passive movement. A continuous low flow or natural thermal circulation can reduce the time water remains stationary in a vulnerable exposed section, but it must not waste water, erode the ground or create pollution. Use this approach only where the source, overflow and discharge have been assessed. At field gates and other strategic points, fit clearly labelled quarter-turn isolation valves. Rapid isolation can prevent a damaged trough from emptying a tank or turning a small leak into a saturated gateway.
- Inspect float arms, seats, washers and threaded joints before the first hard frost.
- Check that service-box lids close fully and that insulation has not become wet or compressed.
- Confirm that overflow pipes discharge safely and do not form an ice hazard around the trough.
- Exercise every isolation valve, label it and make sure the correct tool is not needed in an emergency.
- Test automatic drainage, soakaways and non-return valves before the ground becomes too hard to dig.
- Keep a spare repair coupling, valve washer and short length of compatible pipe in the farm maintenance stock.
A pre-winter walkover should include every trough, exposed pipe, gate crossing and service chamber. Look for low points that have no drain, insulation damaged by stock, unexplained pressure loss and routes that are no longer visible after years of grass growth. Marking these defects now is far easier than finding them during a dark, wet morning in January.
Keep the Water Flowing and Put Away the Winter Sledgehammer
A dependable winter installation works as a three-tier defence. First, put the buried pipe below suitable cover, using more depth where traffic, shallow soil or upland exposure demands it. Second, ruggedise the riser with proper closed-cell insulation and a sleeve that can withstand livestock and field conditions. Third, install automatic drain-down protection so standing water does not remain trapped in the coldest section when the supply is isolated or pressure falls.
The return on this work is measured in more than avoided pipe repairs. Reliable water access supports livestock welfare, while fewer emergency journeys save labour, diesel and time during the busiest part of the season. A weekend audit, followed by a sensible programme of trench repairs, insulation upgrades and valve testing, can prevent hours of breaking ice and carrying water come January. Before the next hard ground frost arrives, walk the pasture, open every service box and make the vulnerable points ready for winter.

